How to Monitor AWS Costs Across Multiple Accounts

Managing AWS costs across multiple accounts can be challenging but is crucial to avoid unexpected expenses. Here's how you can centralize and streamline cost tracking for better visibility and control:
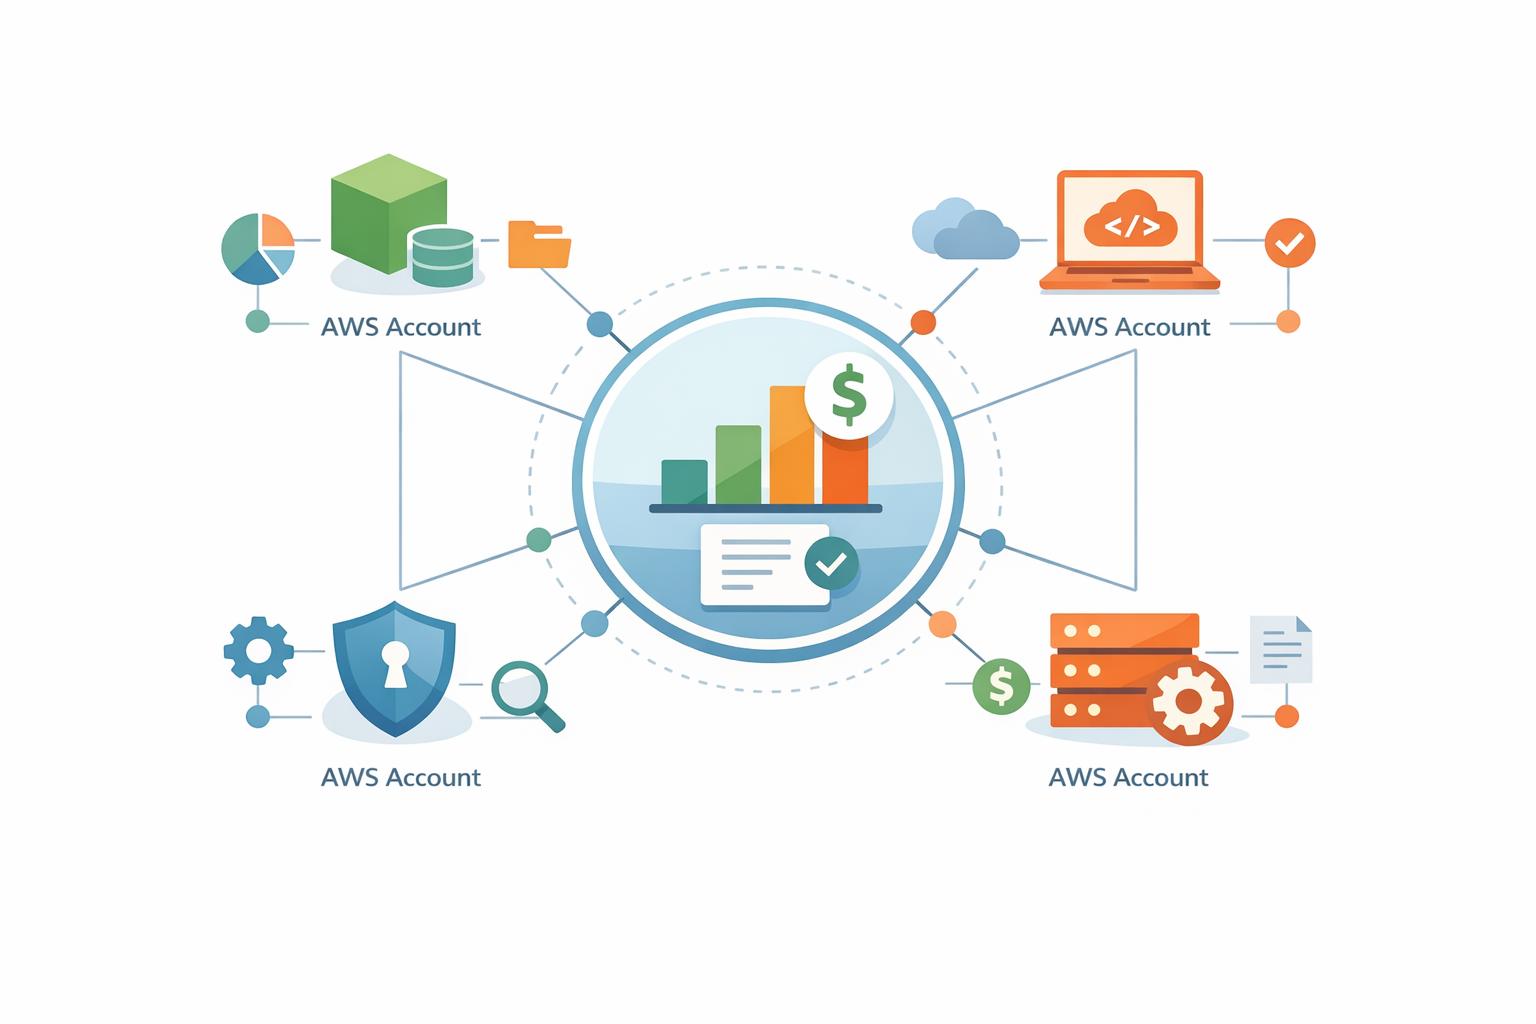
- Use AWS Organizations: Consolidate billing for all accounts under one management account, enabling detailed cost insights and shared volume discounts. This is a key part of smart commitment management to maximize savings.
- Set Up Permissions: Configure IAM permissions to grant access to billing data and tools like Cost Explorer and AWS Budgets.
- Leverage AWS Tools:
- Cost Explorer: Analyze current and historical spending, group data by accounts, services, or regions, and create custom billing views.
- AWS Budgets: Set spending limits, receive alerts, and automate actions when thresholds are breached.
- Cost Anomaly Detection: Use machine learning to identify unusual spending patterns and send real-time alerts.
- Automate with Tools: Platforms like Opsima optimize costs by adjusting Savings Plans and Reserved Instances, reducing bills by up to 40%.

AWS Multi-Account Cost Monitoring Setup Process
Managing AWS Costs in a Multi-Account Environment Explained | AWS Billling Conductor | AWS CUR
Prerequisites for Multi-Account Cost Monitoring
To effectively track spending across multiple AWS accounts, you need two key components: AWS Organizations with consolidated billing and the appropriate IAM permissions. These are essential for achieving full cost visibility.
Setting Up AWS Organizations
AWS Organizations is the tool that consolidates cost data from multiple accounts. To begin, designate an existing AWS account as the management account. This account will handle all charges for the member accounts.
When creating your organization, you’ll choose between two feature sets: "All features" (recommended) or "Consolidated billing features only." The "All features" option not only consolidates billing but also unlocks tools like Service Control Policies (SCPs) and centralized resource tagging. The billing-only option focuses solely on aggregating payments.
| Feature | Consolidated Billing Only | All Features (Recommended) |
|---|---|---|
| Centralized Payment | Yes | Yes |
| Volume Discounts | Yes | Yes |
| Service Control Policies (SCPs) | No | Yes |
| Centralized Resource Tagging | No | Yes |
| Advanced Security Integration | No | Yes |
After setting up your organization, you can add member accounts in one of two ways: either create new accounts that automatically join or invite existing accounts to join. If you’re inviting accounts, remember to verify the management account’s email address within 24 hours of creating the organization.
An important step is enabling trusted access for the billing-cost-management service principal. This action allows AWS to create service-linked roles in your member accounts, ensuring tools like Cost Explorer work seamlessly. You can enable this feature through the AWS Organizations console or by running the following command:
aws organizations enable-aws-service-access --service-principal billing-cost-management.amazonaws.com
To secure your management account, enable MFA and use a strong, business-managed password. It’s also a good idea to use a group email address (instead of an individual’s email) for the management account. This ensures billing notifications reach your team, even if personnel changes occur.
"AWS Organizations provides consolidated billing so that you can track the combined costs of all the member accounts in your organization." - AWS Documentation
Configuring IAM Permissions
Setting up AWS Organizations is just the first step. You also need to configure the right permissions for your team to access billing data. IAM users and roles require explicit billing permissions to view cost-related information.
Start by signing in as the root user and enabling the "IAM User and Role Access to Billing Information" setting. You’ll find this option in the Account page of the AWS Management Console. Without this step, administrators won’t be able to view tools like Cost Explorer or set up budgets.
Once IAM access is activated, attach the necessary identity-based IAM policies to the users or roles that need billing visibility. For cross-account access, ensure users have the required sts:AssumeRole permissions for the OrganizationAccountAccessRole that AWS automatically creates in new member accounts.
Instead of managing local IAM users in every account, consider using AWS IAM Identity Center. This approach allows you to manage multi-account permissions centrally, enabling your team to log in with corporate credentials. It simplifies permission management and boosts security across your organization.
Keep in mind that the "Activate IAM Access" setting only controls access to tools like Cost Explorer, Budgets, and Rightsizing Recommendations. It does not affect services like Cost Anomaly Detection, the Billing and Cost Management SDK APIs, or Savings Plans. These require separate permission configurations.
With your organization set up and permissions in place, you’re ready to take advantage of AWS’s cost monitoring tools. For teams looking to go beyond monitoring, you can also automate AWS commitment management to further reduce overhead.
Using AWS Tools for Multi-Account Cost Monitoring
With AWS Organizations set up and the right IAM permissions in place, you can use AWS tools to monitor spending, identify cost trends, and get alerts when budgets are nearing their limits.
How to Use AWS Cost Explorer
AWS Cost Explorer collects and organizes cost and usage data from all member accounts through the management account's Primary billing view. To get started, enable the service in the Cost Explorer console. Once activated, it takes about 24 hours for data to populate, allowing you to view current, historical (up to 13 months), and forecasted (12–18 months) costs. Keep in mind that the tool updates data at least once every 24 hours, though delays may occur depending on upstream billing systems.
To pinpoint specific cost drivers, use the "Group by" option and filter by Linked Account. You can also group data by service, region, or custom cost allocation tags for deeper insights. For a quick overview, check out the Cost breakdown widget on the Billing and Cost Management home page. This feature lets you easily switch between views like "Member account", "Service", and "Region" with just one click.
If you want to give specific teams or business units access to their account data without exposing all billing information, create custom billing views. These filtered views can be shared with specific member accounts or users using AWS Resource Access Manager (RAM).
| Billing View Type | Description | Shareable? |
|---|---|---|
| Primary billing view | Includes all cost data for the account (or all accounts in the organization if managed centrally). | No |
| Custom billing view | A filtered subset of data (based on accounts or tags) that can combine data from multiple groups. | Yes (via AWS RAM) |
For a more detailed analysis, enable hourly and resource-level granularity. You can even use Amazon Q Developer to query your data in natural language. For example, you could ask, "Which region had the highest spending increase last month?".
Accessing the Cost Explorer interface is free, but note that each paginated API request costs $0.01. Also, if a member account leaves your organization, it loses access to its historical cost data. However, rejoining the organization restores that access.
To stay on top of spending, consider setting up thresholds and alerts using AWS Budgets.
Setting Up AWS Budgets and Alerts
Once you've analyzed your costs, AWS Budgets helps you set spending limits and receive notifications when you're nearing or exceeding them. This service pulls its data directly from Cost Explorer.
To create a budget for multiple accounts, start by defining the budget scope. Use the Linked account filter to track specific accounts or groups of accounts within your organization. Management accounts can create budgets for any member account, but member accounts can only create budgets for themselves unless granted specific permissions.
When setting up your budget, choose the right cost aggregation type:
- Blended Costs: Ideal for organizations that share Reserved Instance (RI) or Savings Plans benefits across accounts.
- Amortized Costs: Distributes upfront reservation fees across the commitment term, making it easier to plan consistently month-to-month.
- Net Amortized Costs: Includes all discounts, credits, and spread payments for long-term planning.
| Cost Aggregation Type | Best Use Case |
|---|---|
| Blended Costs | Organizations sharing RI/Savings Plans benefits across multiple accounts. |
| Amortized Costs | For consistent monthly planning by spreading upfront payments. |
| Net Amortized Costs | Long-term planning that accounts for all discounts and credits. |
Set your budget as Recurring to avoid manual renewals and ensure continuous monitoring. Configure multiple alert thresholds for both Actual and Forecasted spending. This way, you can catch potential overruns and receive early warnings. Keep in mind that forecast-based alerts require at least five weeks of historical data to function.
Each alert can notify up to 10 email addresses and one Amazon SNS topic. For more flexibility, integrate alerts with AWS Chatbot to send notifications directly to Slack or Amazon Chime rooms. AWS Budgets updates its data up to three times a day, usually every 8 to 12 hours.
For added control, use Budget Actions to automate tasks when thresholds are breached. For example, you can apply an IAM policy or even stop an EC2 instance automatically.
Automating Cost Monitoring and Best Practices
Once you’ve set up basic tracking and alerting, automation can take your cost management to the next level.
Automating Cost Monitoring with AWS Services
Manually tracking expenses in a complex, multi-account setup can quickly become overwhelming. That’s where AWS Cost Anomaly Detection steps in. Using machine learning, it identifies unusual spending patterns and can start sending alerts within just 24 hours of setup. The service can manage up to 5,000 values, including member accounts and tag values, and even automatically incorporates new accounts as they’re added.
To make alerts actionable, connect AWS Cost Anomaly Detection to Amazon SNS. This integration allows you to deliver real-time notifications through tools like Slack or Amazon Chime. You can customize these alerts for immediate updates or periodic summaries, depending on your needs.
For additional control, use Service Control Policies (SCPs) to enforce cost-allocation tagging and protect critical reports and budgets. Together, these tools reduce the need for manual monitoring and ensure you’re always ahead of potential overspending.
Using Opsima for Real-Time Cost Optimization
Opsima takes automation a step further by continuously optimizing your cloud spending decisions. It automatically adjusts Savings Plans and Reserved Instances across all accounts, cutting AWS bills by as much as 40% - all without requiring changes to your existing infrastructure.
This platform’s real-time monitoring works seamlessly in multi-account environments, analyzing usage patterns for services like EC2, RDS, and Lambda. It ensures you’re paying the best possible rate for your resources while maintaining your security boundaries. Plus, Opsima’s onboarding process is quick - just 15 minutes - and its pay-as-you-save pricing means you only pay a small percentage of the savings it generates. It’s a low-risk way to keep cloud costs in check. For long-term stability, consider layering cloud commitments to reduce financial exposure.
Conclusion
Take control of your AWS spending by centralizing it through AWS Organizations. Consolidated billing lets you view all costs in one place while also unlocking volume discounts.
Once consolidated billing is set up, you can dive deeper into your expenses using advanced tools like AWS Cost Explorer and its limitations, Cost and Usage Reports, AWS Budgets, and Cost Anomaly Detection. These tools provide detailed insights into your spending, help you track trends, and even send automated alerts when costs deviate from expectations. Pair this with Cost Categories and consistent tagging to ensure accountability across departments and maintain clear visibility into where your money is going.
To take things a step further, automation can shift your cost management approach from reactive to proactive. Tools like Opsima work in the background to optimize Savings Plans and Reserved Instances across your accounts. With just a 15-minute onboarding and a pay-as-you-save model, Opsima can cut your AWS bills by up to 40%. You can even estimate your savings with a personalized report before getting started.
Whether you're managing a handful of accounts or dozens, the strategy stays the same: consolidate billing, maintain consistent tagging, set up proactive alerts, and embrace automation. This approach not only simplifies cost management but also ensures measurable savings across your entire AWS environment.
FAQs
How does AWS Organizations help manage and reduce cloud costs?
AWS Organizations makes managing multiple accounts easier by consolidating billing under a single management account. This approach simplifies cost tracking with one unified invoice and combines usage from all accounts. The result? Access to volume-based discounts, Reserved Instance (RI) savings, and Savings Plans, which can significantly cut costs compared to handling accounts separately.
But it’s not just about billing. AWS Organizations lets you organize accounts into Organizational Units (OUs) and implement policies to control spending. For example, you can enforce mandatory tagging or set usage limits, ensuring costs are allocated correctly. You can also establish budgets and set up alerts to monitor spending, helping to improve accountability and minimize waste.
Pairing AWS Organizations with an automated tool like Opsima takes cost management to the next level. Platforms like Opsima offer advanced recommendations, such as rightsizing resources or identifying unused services, while still upholding governance policies and protecting data privacy.
What are the advantages of using custom billing views in AWS Cost Explorer?
Custom billing views in AWS Cost Explorer let you customize cost and usage data for different teams or stakeholders. This way, each group only sees the expenses that matter to them, without needing full access to the management account. It's a simple way to improve both security and clarity.
These views also support centralized monitoring by consolidating data from multiple AWS accounts or organizations. With this unified perspective, you can easily spot spending patterns, uncover opportunities to cut costs, and keep tighter control over your AWS budgets.
How does AWS Cost Anomaly Detection help manage unexpected expenses?
AWS Cost Anomaly Detection leverages machine learning to spot unusual spending trends and sends alerts when your costs surpass set thresholds. This helps you act quickly to address unexpected charges and steer clear of budget shocks.
The service comes with AWS-managed monitors that automatically keep an eye on spending across linked accounts, cost allocation tags, and cost categories. As your organization expands, these monitors adjust on their own, ensuring you’re always covered without needing extra configuration. This automated approach makes managing your AWS expenses easier and more efficient.