6 Steps to Set Up AWS Cost Anomaly Detection


AWS Cost Anomaly Detection helps you monitor and manage unexpected AWS spending. It identifies unusual cost spikes and sends alerts, allowing you to take action quickly. Here’s how to set it up in six simple steps:
- Access the Cost Anomaly Detection Console: Navigate to the AWS Billing and Cost Management console and select the Cost Anomaly Detection dashboard.
- Create a New Monitor: Choose a monitor type (e.g., AWS Services, Linked Account, Cost Allocation Tag, or Cost Category) and name it clearly.
- Set Up Alert Subscriptions: Configure notifications via Amazon SNS for immediate, daily, or weekly alerts.
- Define Thresholds: Set spending thresholds using dollar amounts or percentage deviations to trigger alerts.
- Review and Create: Double-check your settings and confirm the monitor setup.
- Verify and Monitor: Ensure the monitor is active and regularly review detected anomalies.
Key Notes:
- Prerequisites include enabling AWS Cost Explorer and assigning necessary IAM permissions.
- Alerts are triggered only when anomalies exceed both a 40% increase and $100 in spending.
- Use Amazon SNS and AWS Chatbot for team notifications, and adjust thresholds as needed.
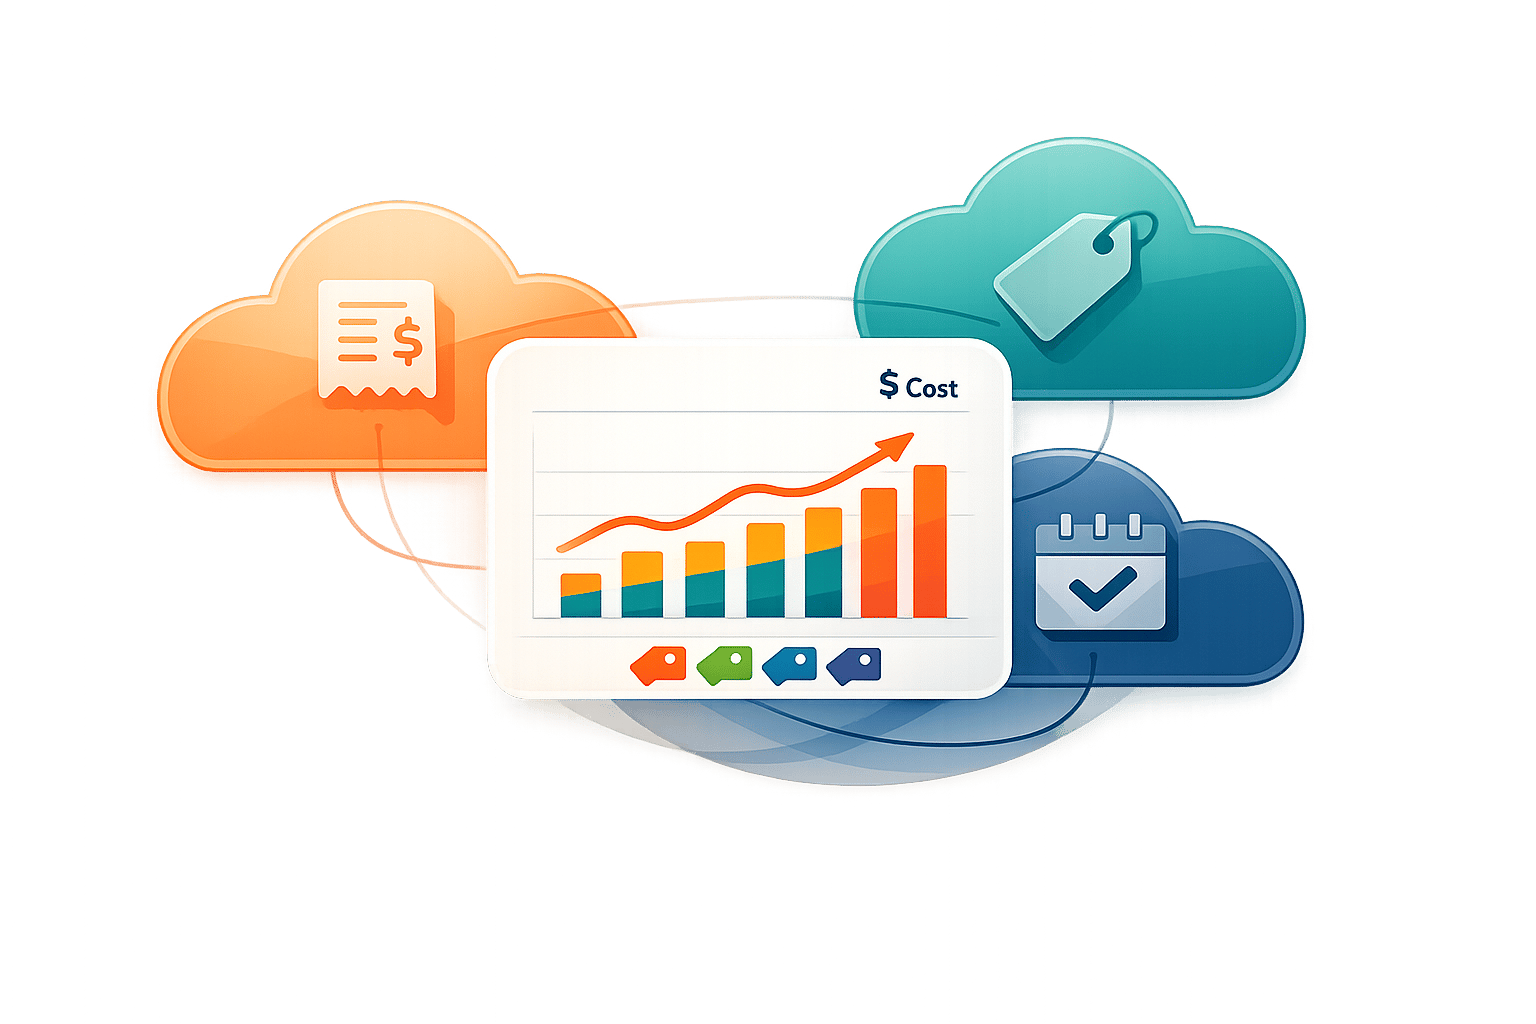
AWS Cost Anomaly Detection provides automated monitoring, but optimizing cloud costs further may require tools like Opsima for managing discounts efficiently.

6 Steps to Set Up AWS Cost Anomaly Detection
Getting Started with AWS Cost Anomaly Detection Step-by-Step

Prerequisites for Setup
Before diving in, make sure AWS Cost Explorer is enabled in your management account through the AWS Cost Management console.
When you enable Cost Explorer, it automatically sets up a default cost monitor and alert subscription. Keep in mind that data for the current month will usually show up within 24 hours, while historical data and forecasts might take a few extra days to populate.
Since default user roles typically lack the required access, an administrator must assign the necessary permissions. Ensure your IAM permissions include the following actions:
ce:CreateAnomalyMonitorce:GetAnomalyMonitorsce:CreateAnomalySubscriptionce:GetAnomalySubscriptions
If you're planning to use Amazon SNS for alerts, make sure to grant the costalerts.amazonaws.com service the sns:Publish permissions. Additionally, update the KMS key policy to allow this access.
For those using AWS Organizations, the management account is required to handle monitors, cost allocation tags, and cost categories.
Once all these prerequisites are in place, you're ready to set up your cost anomaly detection monitors. This process is a key part of understanding your FinOps maturity journey and achieving long-term cloud efficiency. Let’s get started!
6 Steps to Set Up AWS Cost Anomaly Detection
Once you've met the prerequisites, it's time to configure your cost anomaly detection monitors.
Step 1: Access the Cost Anomaly Detection Console
Start by heading to the AWS Billing and Cost Management console. From the menu on the left, select Cost Anomaly Detection. This will take you to the dashboard where you can manage and create monitors. Your next step: creating a new monitor.
Step 2: Create a New Cost Monitor
Click on the Create monitor button. You'll see four types of monitors to choose from:
- AWS Services – Tracks usage for individual AWS services.
- Linked Account – Monitors spending across member accounts.
- Cost Allocation Tag – Follows costs based on specific allocation tags (like "Environment" or "Project").
- Cost Category – Groups costs at a business level.
For simplicity and broad coverage, go with an AWS-managed monitor. It automatically adjusts as new accounts or tags are added. Be sure to give your monitor a clear, descriptive name for easy identification later.
Step 3: Configure Alert Subscriptions
Now, set up notifications by choosing how often you want to receive alerts:
- Individual alerts – Immediate notifications sent via Amazon SNS.
- Daily summaries – A list of the top 10 alerts from the previous day, sent at 12:00 AM UTC.
- Weekly summaries – A consolidated report sent once a week.
Enter the email addresses for recipients and, if using individual alerts, specify an Amazon SNS topic. For better team collaboration, you can integrate the SNS topic with AWS Chatbot to send alerts directly to platforms like Slack, Microsoft Teams, or Amazon Chime.
Step 4: Define Thresholds for Anomalies
Set thresholds to determine when alerts are triggered. You can use absolute dollar amounts (e.g., exceeding $100) or percentage deviations from expected spending. For more precise control, combine multiple thresholds using "AND" or "OR" logic. To start, use lower thresholds to get a sense of your spending trends, and then adjust as needed to avoid unnecessary alerts.
Step 5: Review and Create the Monitor
Take a moment to review your configuration. Add any organizational tags if needed. Once everything looks good, click Create monitor to finalize the setup.
Step 6: Verify Monitors and Review Detected Anomalies
Check the Cost monitors tab to ensure your monitor is active. You can also review anomalies detected over the past 90 days to get an overview of any unusual spending patterns.
Best Practices for Cost Anomaly Detection
Setting up monitors is just the beginning; keeping them effective requires ongoing adjustments as your AWS environment evolves. Here are some strategies to ensure your monitoring remains relevant and precise.
Group Costs with Cost Categories
Organize your spending by Cost Categories that reflect your business structure - whether that's by teams, departments, or projects. This way, alerts are more focused and actionable. For instance, if your marketing team suddenly exceeds its budget, you'll get a specific alert tied to that team instead of a vague notification. AWS-managed monitors for Cost Categories can track up to 5,000 values and automatically include new entries as your organization grows.
Adjust Thresholds as Spending Patterns Shift
Once your monitors are in place, revisit and tweak their thresholds regularly. Start with conservative settings and refine them to balance accuracy and noise. Use a mix of absolute thresholds (e.g., $1,000) and percentage-based triggers (e.g., 30%) depending on your needs. For example, during a major rollout, you might set tighter thresholds for closer monitoring. AWS's machine learning model also adapts to growth and seasonal trends, reducing false alarms from predictable changes like early-month usage spikes.
Integrate with EventBridge for Deeper Analysis
Link AWS Cost Anomaly Detection to Amazon EventBridge to automate workflows when anomalies occur. This integration enables you to trigger Lambda functions for detailed investigations or route alerts to specific teams or channels based on the affected Cost Category. Use JSON filtering to focus on high-priority events, such as anomalies where the financial impact exceeds a set threshold. AWS also provides up to 10 detailed root causes for each anomaly, highlighting the exact account, region, or service responsible for the unexpected cost (see how regional pricing impacts these variations).
Provide Feedback to Improve Accuracy
Leverage the Assessment feature in the AWS console to label anomalies as either "Accurate" or "Not an issue." This feedback helps fine-tune the machine learning model, making it better at recognizing your unique spending patterns and reducing false positives over time.
How Opsima Enhances AWS Cost Optimization
AWS Cost Anomaly Detection is great for spotting unexpected spending patterns like usage spikes, misconfigurations, or unauthorized resource deployments. But when it comes to fine-tuning payment methods for better cost efficiency, there's a gap - and that's where Opsima steps in.
Opsima doesn't just flag anomalies; it actively optimizes your payment structure. By integrating discount tools like Savings Plans and Reserved Instances, Opsima can help cut cloud costs by up to 40%. The best part? It achieves this without requiring changes to your existing resources, whether you're using EC2, RDS, Lambda, or others.
To avoid the risks of being locked into long-term commitments, Opsima dynamically adjusts your discount commitments to align with your actual usage. This ensures you're only paying for what you need, all while keeping your data secure.
Conclusion
Setting up AWS Cost Anomaly Detection is a simple process. By following six straightforward steps, you can enable automated monitoring that checks for unexpected cost spikes about three times daily.
The AWS-managed monitors adjust automatically as your organization grows. Plus, its root cause analysis helps you identify cost spikes by service, account, region, or usage type.
However, while this system is great for identifying spending anomalies, cutting costs requires going a step further. That’s where Opsima comes in. It works alongside anomaly detection to manage Savings Plans and Reserved Instances dynamically, slashing cloud expenses by up to 40% - all without altering your infrastructure or accessing your data.
FAQs
What do I need to set up AWS Cost Anomaly Detection?
To get started with AWS Cost Anomaly Detection, there are a few important steps you'll need to check off:
- Enable Cost Explorer: This tool is a must-have for viewing and analyzing your AWS cost data. Without it, tracking anomalies isn't possible.
- Set Up IAM Permissions: Make sure the right permissions are in place so users can create and manage anomaly detection monitors securely.
- Create Cost Monitors: Decide which spending patterns you want to keep an eye on and set up monitors accordingly.
- Configure Notification Channels: Use services like Amazon SNS or AWS User Notifications to get alerts when something unusual happens with your costs.
With these steps completed, you'll be equipped to keep tabs on your AWS spending and address unexpected changes quickly.
How can I adjust alert thresholds in AWS Cost Anomaly Detection for more accurate notifications?
Fine-tuning alert thresholds in AWS Cost Anomaly Detection allows you to set specific triggers based on dollar amounts or percentage changes. For instance, you could configure alerts for anomalies that exceed $1,000 or show a 50% increase in costs. This level of control ensures that notifications align with what matters most to your organization.
While AWS automatically adjusts thresholds over time to reflect natural growth patterns and seasonal trends, defining exact limits helps you zero in on the changes that truly require attention. Customizing these thresholds not only minimizes unnecessary alerts but also keeps you updated on the cost variations that are most relevant.
How does AWS Cost Anomaly Detection work with other AWS services to improve cost monitoring?
AWS Cost Anomaly Detection works effortlessly with other AWS services to improve cost tracking and automate responses to unusual spending patterns. For instance, it pairs with Amazon EventBridge, enabling it to spot anomalies and trigger automated actions. These actions can include sending alerts or kicking off remediation workflows based on rules you’ve set up. Notifications can be sent to platforms like Slack or Amazon Chime, keeping your team in the loop.
It also connects with AWS User Notifications, providing real-time alerts through email, chat apps, or even mobile push notifications. On top of that, Amazon SNS allows you to distribute notifications across various channels, ensuring you’re always updated about unexpected cost changes. These integrations make it easier to stay on top of your spending, address issues swiftly, and simplify cost management.