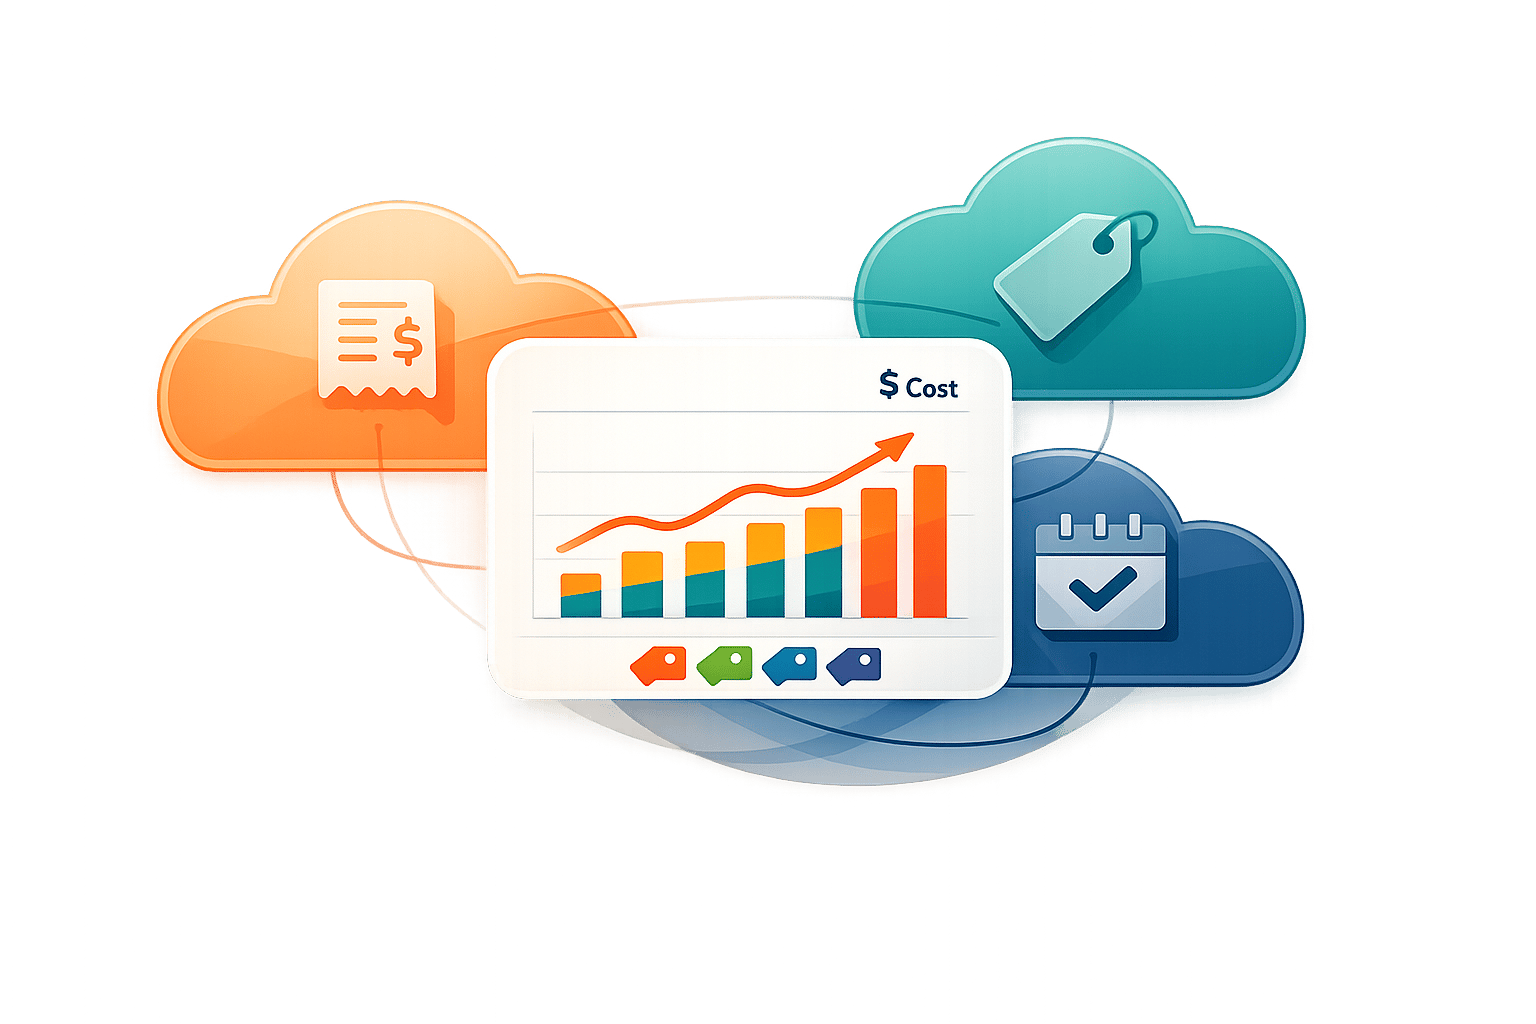
Automated Tagging for AWS Cost Allocation


Managing AWS costs starts with proper tagging. Automated tagging ensures resources are consistently labeled, eliminating the errors and inconsistencies of manual tagging. This approach uses tools like AWS Config, Lambda, and Organizations to apply and enforce tags automatically, enabling accurate cost tracking and allocation.
Key takeaways:
- Manual tagging issues: Prone to errors, inconsistencies, and limited coverage.
- Automated tagging benefits: Enforces consistency, reduces errors, and simplifies multi-account management.
- AWS tools: Use AWS Organizations Tag Policies, Lambda functions, and EventBridge for automation.
- Cost tracking: Activate cost allocation tags in AWS Billing for precise financial reporting.
- Practical uses: supports chargeback/showback workflows and optimizes AWS commitments.
Automated tagging not only simplifies cost allocation but also improves cost visibility and accountability across teams and projects.
How to tag resources proactively and automatically at scale? | Amazon Web Services
Building a Tagging Strategy for AWS Cost Allocation
If manual tagging has left you with inconsistent data, it’s time to establish a solid tagging strategy as part of your FinOps maturity journey. A well-thought-out plan starts with a tagging dictionary that outlines mandatory keys, acceptable values, and naming conventions. Without this framework, your billing reports could show fragmented data, making it harder to group similar cost centers.
Defining a Tagging Taxonomy
To create a clear structure, define standardized tag keys such as ApplicationId, BusinessUnitId, CostCenter, Owner, Project, and Environment. Use consistent naming conventions for case, delimiters, and hierarchy. Additionally, enforce discrete or prefix-based values to avoid data inconsistencies.
| Use Case | Example Tag Key | Rationale | Required |
|---|---|---|---|
| Cost Allocation | example-inc:cost-allocation:CostCenter |
Monitor costs by cost center | Mandatory |
| Cost Allocation | example-inc:cost-allocation:Owner |
Identify the budget holder | Mandatory |
| Cost Allocation | example-inc:cost-allocation:Project |
Track spending by project | Mandatory |
| Automation | example-inc:automation:EnvironmentId |
Schedule resources (Prod, Dev, Test) | Mandatory |
Governance rules are essential for maintaining order. Define who has the authority to create tag keys and ensure mandatory values are added. Also, to stay compliant and secure, avoid including any personally identifiable information (PII) in tag values.
Once your taxonomy is in place, think about how AWS-generated tags can complement your custom tags.
AWS-Generated Tags and Their Use Cases
AWS offers built-in tags with the aws: prefix, which can enhance your tagging strategy, though native tools like AWS Cost Explorer have limitations in how they visualize this data. One particularly helpful tag is aws:createdBy, which records the IAM user, root account, or federated user responsible for creating a resource. This tag is supported across key services like EC2, S3, RDS, CloudFormation, and Elastic Load Balancing.
These tags act as a fallback when user-defined business tags are missing. For instance, aws:createdBy can help identify who launched a resource, making it easier to follow up on untagged items. It’s also useful for tracking down orphaned resources or investigating unexpected costs.
Keep in mind that AWS-generated tags only apply to resources created after you activate them in the Billing and Cost Management console. They are applied on a best-effort basis and don’t count toward the 50-tag limit per resource. Other helpful AWS-generated tags include aws:cloudformation:stack-name for grouping infrastructure costs and aws:marketplace:isv: for monitoring third-party software usage.
Documenting and Publishing Your Tagging Guidelines
To ensure consistency, document your tagging schema in a version-controlled repository that all stakeholders can access. This repository becomes your single source of truth, making updates easy to track. For each tag key, include the business purpose - for example, use ApplicationId to analyze cost versus value.
"A comprehensive tagging schema helps you to achieve this consistency." - AWS Whitepaper
AWS Organizations tag policies allow you to define your schema in JSON format. This enables AWS to report on and enforce compliance across all accounts. Note that user-defined tags must be manually activated in the Billing and Cost Management console of the management account before they appear in cost reports. Additionally, it may take up to 24 hours for newly activated tags to reflect in reports.
Implementing Automated Tagging in AWS
Once you’ve set up a tagging taxonomy, the next step is implementing AWS tools to ensure resources are tagged correctly from the start. AWS offers policy-based enforcement and event-driven automation to help you maintain tagging consistency.
Using AWS Organizations Tag Policies
Tag policies allow you to define tagging rules in JSON format and enforce them across your AWS organization. These policies can be applied at different levels - organization root, specific organizational units (OUs), or individual accounts - making it easier to manage tagging rules across your environment. The enforced_for setting in the policy ensures users can’t apply tags that don’t meet your requirements for specific resource types.
While tag policies help identify noncompliant tags on existing resources, they only evaluate tags when they’re created or updated. This means untagged resources aren’t automatically flagged. To address this, use Service Control Policies (SCPs) alongside tag policies to block resource creation if required tags are missing. AWS suggests testing tag policies on a single account before rolling them out broadly. For tags that follow specific patterns, like CostCenter tags with a format such as 123-xxx, use a prefix and wildcard (*) to simplify maintenance.
| Policy Component | Description |
|---|---|
tag_key |
Specifies the required tag key (case-sensitive) |
tag_value |
Defines allowed values or patterns (e.g., wildcards) |
enforced_for |
Lists resource types (e.g., ec2:instance) where noncompliant tags are blocked |
@@assign |
Operator used to set rules for a specific tag |
This policy-based approach pairs well with automated tagging via Lambda functions, creating a robust system for maintaining your tagging standards and automating AWS commitment management.
Automating Tagging with Lambda Functions
Lambda functions enable event-driven automation to tag resources as soon as they’re created. By integrating CloudTrail, EventBridge, and Lambda, you can automatically apply tags based on event data. The function extracts resource IDs and identifies the user who initiated the action, pulling additional metadata (like department or cost center) from AWS IAM Identity Center (formerly AWS SSO) for detailed cost allocation.
"The core of the policy is... we allow the action only if a tag named PrincipalId matches your current user ID. I am using the conditional variable, '${aws:userid}', because it is always defined for any type of authenticated user."
– Alessandro, AWS Security Blog
Identity variables like ${aws:userid} ensure accurate tagging for both IAM and federated users. To handle large-scale tagging operations, include retry logic to avoid API throttling. Set up EventBridge to trigger the Lambda function for API activities like RunInstances, CreateVolume, CreateBucket, and more. For EC2 instances, extend tagging to attached EBS volumes and network interfaces (ENIs) for consistent cost tracking. If you’re using Infrastructure as Code tools like CloudFormation, manage tags directly in your templates to prevent configuration drift.
Once tags are applied, ensure they’re visible in your billing reports by activating them in the AWS Billing console.
Activating Cost Allocation Tags in AWS Billing
Tags applied through AWS Organizations or Lambda won’t automatically show up in billing reports. You need to activate them manually in the Billing and Cost Management console. Only the management (payer) account can access the cost allocation tags manager.
Here’s how to activate tags:
- Apply the tags using the AWS console, CLI, or Infrastructure as Code tools.
- Wait up to 24 hours for the tag keys to appear in the Cost Allocation Tags page.
- Select the tag keys you want to activate and click Activate.
- Allow another 24 hours for the tags to reflect in billing data.
AWS allows up to 500 active cost allocation tag keys for billing reports. For bulk operations, use the UpdateCostAllocationTagsStatus API to activate or deactivate tags. Once activated, tags appear as columns in the AWS Cost and Usage Report (CUR) and can be used as filters in AWS Cost Explorer. To see how these tags translate into potential savings, you can estimate your savings on your next AWS bill with a personalized report.
One recommended tag to activate early is the aws:createdBy tag. This tracks the IAM user or role responsible for creating a resource, helping you tie costs back to specific users. AWS-generated tags only apply to resources created after activation and don’t count toward the 50-tag limit per resource. Keeping your tag keys consistent and manageable ensures cost reports are easier to interpret and avoids fragmented expense data.
Practical Applications of Automated Tagging
Chargeback and Showback Workflows
When tags are applied consistently, they enable financial workflows that bring clarity and responsibility to cloud spending. Automated tagging allows AWS costs to be assigned to specific teams, projects, or business units. This supports two key financial processes: showback and chargeback.
Showback reports are informational, helping teams understand their spending without transferring funds. On the other hand, chargeback workflows directly bill departments for their AWS usage, holding them financially accountable.
The AWS Whitepaper explains the difference:
"Showback is about presentation, calculation, and reporting of charges incurred by a specific entity, such as business unit, application, user, or cost center... Chargeback is about an actual charging of incurred costs to those entities via an organization's internal accounting processes."
Essentially, showback fosters cost awareness, while chargeback ties spending to departmental budgets, encouraging accountability.
Here’s a quick breakdown of the two approaches:
| Feature | Showback | Chargeback |
|---|---|---|
| Primary Goal | Visibility | Cost recovery and internal billing |
| Financial Impact | Informational; no funds transferred | Direct billing |
| Key Benefit | Encourages optimization through transparency | Drives accountability for cloud consumption |
AWS-provided tags like aws:createdBy and awsApplication make financial reporting more precise by instantly identifying resource ownership. These tags not only reduce manual errors but also ensure that every resource is properly tagged for accurate financial tracking.
For organizations with shared accounts across multiple teams, tag-based allocation offers a more detailed view of costs than account-level separation. Make sure cost allocation tags are activated early to capture all usage data. This level of granularity is also critical for making informed decisions about resource commitments.
optimizing AWS commitments Using Tag Data
Automated tagging doesn’t just clarify spending - it also helps optimize AWS commitments. By using tags like environment-id or business-unit-id in AWS Cost Explorer, organizations can spot consistent usage patterns that justify investments in Reserved Instances or Savings Plans. Tags help distinguish between temporary workloads, like development environments that shut down after hours, and production workloads that require continuous operation.
Although upfront costs for Reserved Instances can’t be tagged at the time of purchase, automated tags track how discounts are applied to specific workloads through the AWS Cost and Usage Report. Viewing amortized costs in Cost Explorer adds another layer of insight, revealing the true benefits of Reserved Instances and Savings Plans across different business areas. For example, grouping costs by the awsApplication tag can show whether an entire application stack warrants a dedicated Savings Plan.
Tools like Opsima take this a step further by analyzing tagged usage data to continuously optimize AWS commitments. By identifying patterns and opportunities across tagged resources, such tools can reduce cloud costs by up to 40% - all without requiring infrastructure changes. This ensures you’re always paying the lowest possible rate for the resources your organization uses.
Measuring Success and Scaling Tagging Governance
Metrics for Tagging Governance
To gauge the effectiveness of your tagging governance, focus on metrics that highlight both compliance and financial impact. One key measure is the tag coverage rate - this shows the percentage of resources that include your required tags. You can calculate this as an overall percentage across all resources or break it down by specific tag keys, like cost-center or project. Another critical metric is the percent of total spend tagged, which reveals how much of your AWS bill is linked to defined cost allocation tags. On the flip side, tracking the percentage of untagged spend helps identify resources generating costs without proper attribution, pointing to gaps in your governance practices.
| Metric Category | Key Performance Indicator | Purpose |
|---|---|---|
| Governance | Tag coverage rate (aggregate & per key) | Tracks adherence to tagging standards |
| Financial | Percent of total spend tagged | Measures visibility into AWS billing |
| Financial | Percentage of untagged spend | Highlights areas lacking cost attribution |
| Operational | Time saved via automation | Evaluates efficiency gains from automation |
Operational metrics, such as the time saved through automation and the number of non-compliant resources remediated, also provide valuable insights into the efficiency of your tagging efforts. Keep in mind that not all costs - like Reserved Instance fees or AWS Support charges - can be tagged. These need to be managed separately.
Once these metrics are in place, you can expand your tagging strategy to cover multiple accounts.
Scaling Tagging Across Multi-Account Environments
Extending tagging governance across multiple AWS accounts requires a centralized and organized approach. AWS Organizations enables you to apply Tag Policies and Service Control Policies (SCPs) to specific Organizational Units (OUs). These policies ensure that child accounts automatically inherit tagging rules from parent OUs, streamlining governance. To maintain consistency, use a centralized database like Amazon DynamoDB as your single source of truth for tagging definitions, including tag keys, value formats, and case-sensitivity rules. Additionally, leverage the Resource Groups & Tag Editor in the AWS management account to monitor compliance with tag policies across all linked accounts.
For simplicity in large environments, consider using account-level tags. This method assigns all resources within an account to a single business unit or cost center, reducing the need to manage detailed resource-level tags. Combine proactive measures - such as SCPs that block untagged resource creation - with reactive measures, like AWS Config rules, to identify and address non-compliant resources.
To automate the inclusion of new accounts into your tagging framework, use Amazon EventBridge to collect metadata (e.g., Account IDs and OU IDs) from AWS Organizations and store it in a central repository. Direct your monitoring efforts toward tag keys tied to the highest charges, as these have the greatest impact on cost allocation accuracy.
This centralized and automated approach ensures consistent and scalable tagging governance across your AWS environment, improving cost visibility and control.
Conclusion
Automated tagging plays a key role in AWS cost allocation by providing clear financial data that supports efficient cost management and budgeting. By centralizing tagging controls within AWS Organizations, you maintain consistency across billing reports and external tools, such as build scripts and CI/CD pipelines.
"Tagging is one of the foundational steps required in order to establish a meaningful cost allocation model."
- AWS Cloud Operations Blog
To implement a successful tagging strategy, start with the basics and expand over time. Involve a cross-functional team - Finance, IT, Security, and Operations - to define and publish a tagging schema before rolling it out. Remember to activate tags in the AWS Billing Console, as they only apply to cost data from the time of activation onward, not retroactively.
"Implementing a tagging strategy is a process of iteration and improvement, where you start small from your immediate priority, identify relevant use cases across your organization, and then implement and grow the tagging schema as you need to."
- AWS Whitepaper
Combining automated enforcement with remediation protocols strengthens tagging governance. Use Service Control Policies to block untagged resource creation proactively, while AWS Config rules can identify non-compliant resources. Tools like AWS Systems Manager or Lambda functions can automate remediation, resolving issues without manual effort. This balanced approach ensures your tagging strategy scales effectively across multi-account environments while encouraging teams to take ownership of their cloud spending.
FAQs
What’s the minimum set of tags needed for cost allocation?
The minimum required tags for cost allocation should include business-relevant keys such as cost-center and application. These tags are essential for tracking expenses across organizational units and functions, making it easier to ensure accurate cost distribution and reporting. Prioritize tags that directly align with your specific business requirements.
How can we prevent untagged resources from being created in AWS?
To avoid untagged resources in AWS, leverage automated tagging controls with tools such as AWS Config and AWS Organizations. These tools help enforce tagging policies, ensuring that any newly created resources include the necessary tags. For instance, you can use AWS Config's required-tags rule or AWS Organizations' tag policies to block or even terminate resources that lack proper tags. This proactive method keeps your tagging consistent, which is essential for managing costs accurately and effectively.
Why don’t my tags show up in Cost Explorer or the Cost and Usage Report?
Tags might not show up in Cost Explorer or the Cost and Usage Report unless they’ve been activated in the Billing and Cost Management console. Once you activate them, it can take up to 24 hours for the tags to appear in your reports. To prevent delays, make sure the tags are enabled specifically for cost allocation.